Tiny House Roof!

20160812_111809

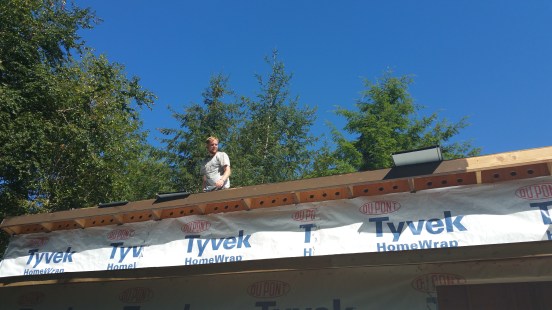
Ryan put on the brown standing seam metal roof on the upper roof first. The roofing pieces were 8 feet long so he did not have to cut them. The upper roof is 8 feet wide from front to back. He put on metal flashing that he painted the same color of brown as the roof.

20160822_121645

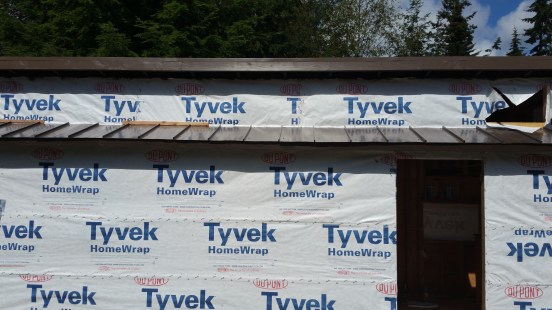
Here you can see the lower roof is almost finished. The metal pieces had to be cut to fit. I have not talked a lot about the costs of building my Tiny House, but it occurred to me some people might be interested. The roofing materials cost about $800 total.

I knew we needed to get the outside of the Tiny House finished and waterproof before winter. However, I was out of money. So I took out a credit card to buy the windows, cedar siding, and deck lumber. In case you are interested the total for all the windows was $1,672 and the total for 8 inch wide cedar lap siding was $1,664. The deck materials for an 18 x 8 foot deck, including cement pier post blocks was $506.


Building a Tile Shower in my Tiny House!

cda3b41b-6467-4bfd-8744-4050374feb99_300

I picked out porcelain tile that looks like wood. Here is a photo from the Home Depot website.

The back 4 feet of my Tiny House will be a tiled shower/bathroom. It will be the full width of the house. It has 2 small windows.

20160728_100008

A wall will go halfway across, and a sliding door will slide the rest of the way. The pex plumbing is installed. The blue is for cold water, and the red is for hot water.

20160801_160448

Ryan put in a cement floor for the shower that slopes gently towards the drain. For the under layer Ryan used perlite as a filler in the cement mix. It makes the cement much lighter. For the top layer, plain cement made the surface smooth.

20160802_110928

The next step was insulation in the walls, and a 3 mil plastic vapor barrier. After that, Ryan put up the cement backer boards.

20160727_173013

Ryan built a box on the back wall of the Tiny House to hold the 15 gallon hot water heater I ordered. He put the shower valve hardware into the wall.

20160808_182517

Next Ryan taped the cement backer boards, and sealed the whole thing with waterproof sealer that is bright red! The product is called RedGard 1 Gallon Waterproofing and Crack Prevention Membrane. Now it is ready for tile!

UPDATE: Today Ryan started the tile!

20160809_123130

Morning photo.

20160809_142551

Afternoon photo!!!

20160810_145408

The next day!

20160811_103726

The next day Ryan started the floor! The smaller 2 inch square tiles are better for flowing over the slope of the shower floor. The small tiles are “mesh-mounted” and they come in 1 foot by 1 foot squares perfectly spaced and ready to glue down. The mesh backing can be cut to fit the tiles in odd shaped places.

20160817_152026

The tile with grout looks fantastic!!!